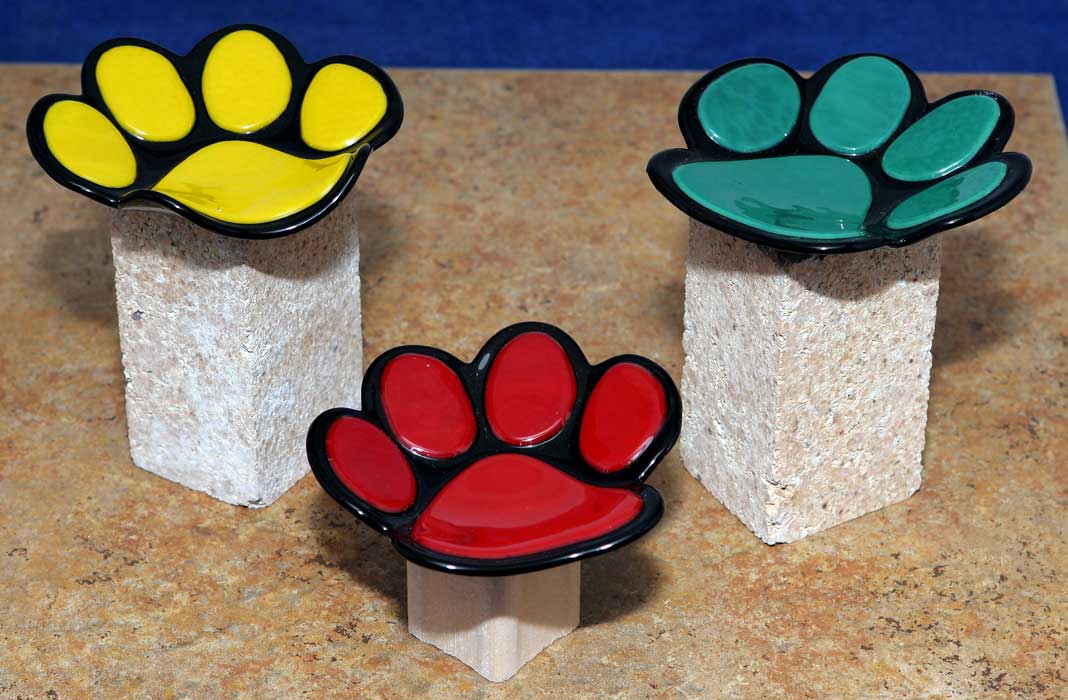
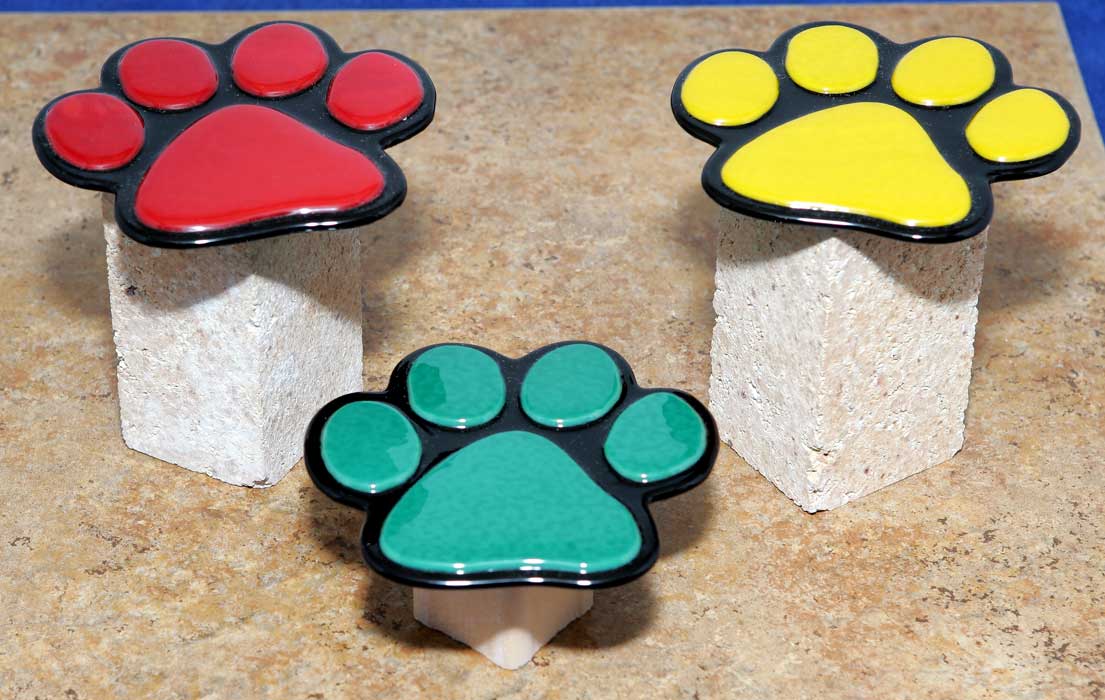
Hi Barry, I've been testing with the Black fusing paint that I got from you. I don't know how you get some of things images you get on glass that look as good as they do. The first one I did and fired my wife asked me if this was one of those ink blot tests. I would have been crushed accept I kind of agreed with her.

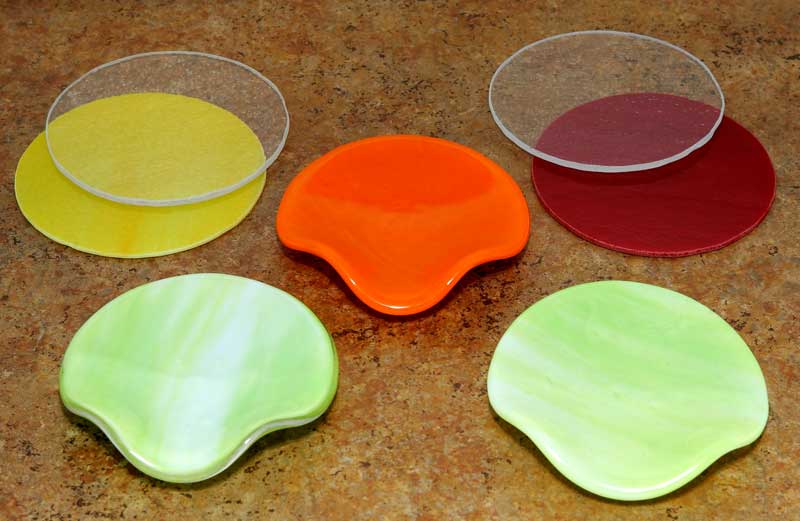
Actually, you could tell that it was the head of one of our dogs, just not as clean an image as I was hoping for. I did a few others but those I scrape the paint off that I could save (at least on glass you can re-use any you can scrap off) and washed the glass. Today I created a couple of new screens with out detail, just a block image. The screens came out good so I used one on one of my clear circles from the image above. I taped it down on one side, dabbled on the black paint and then used a squeegee I got out of a Stencil Pro Starter kit and spread it over the screen. I didn't press real hard (I think that was my problem with the blob image) but ran across it a couple of times. When I lifted up the screen the outline looked pretty good so I took it off. After I took it off and lifted up the circle I could see little pin prick bubbles that had opened up in the image. Since I couldn't put the screen back with out smearing, I just dribbled a couple of drops of additional paint in the middle of the image and used a small brush to spread it around and fill in all the bubble holes. It's been drying for the last couple of hours and it still looks solid and has smoothed out a bit. I'll continue to let it dry until it completely dry and then fire it. I think it was you that said you sprinkle clear powder over the image. I did that on the other one, except I didn't have power I only had Crystal Clear Medium frit, so it wasn't as smooth as power would be. I'm going to get power so I can use that on this one so I can fire it with the image up. I'd rather turn it over and fire it down so it was between the clear and base color circle but I'm afraid I'll get bubbles if I do.
If I used flux, is that going to make your black thicker or thinner? I stir it up real well and it seems to be pretty thick as it is in the jar it comes in. It doesn't run off the flat metal end of the mixing tool I use, it will drip off but not very fast. Does your flux lower the maturing temp as well? I'm firing these to 1425 to fuse my two circles together.
Dana, I have powder as well but haven't used them yet since I have the Kaiser paints that are already mixed. I did think about using one of them to do a dry screen print like I read on a tutorial that a glass artist wrote (I didn't write down his name or I'd say who it was). One thing I'm thinking of doing is something I've done in the past, which was paint on or spray on hair spray onto a piece of glass and then dust on a very thin layer of powder. When I did this before it created something like flash glass although I don't have a sand blaster to blast out a pattern on it. But I think that will give enough "bite" on the glass that I can use my stamp and the paint won't be so likely to squirm on the glass and smear. My rubber stamp is 4"x3" so it has more paint on it than one of the small stamps that many people use and I think that is part of the problem. It works great on paper or something that absorbs part of the paint, but of course glass doesn't absorb any of it.
I'll just keep testing it and see how it turns out.
Thanks, Barry and Dana.
Mike
It's said that inside each of us is an artist trying to get out. Well mine got out... and I haven't seen him since.


